
Desserts
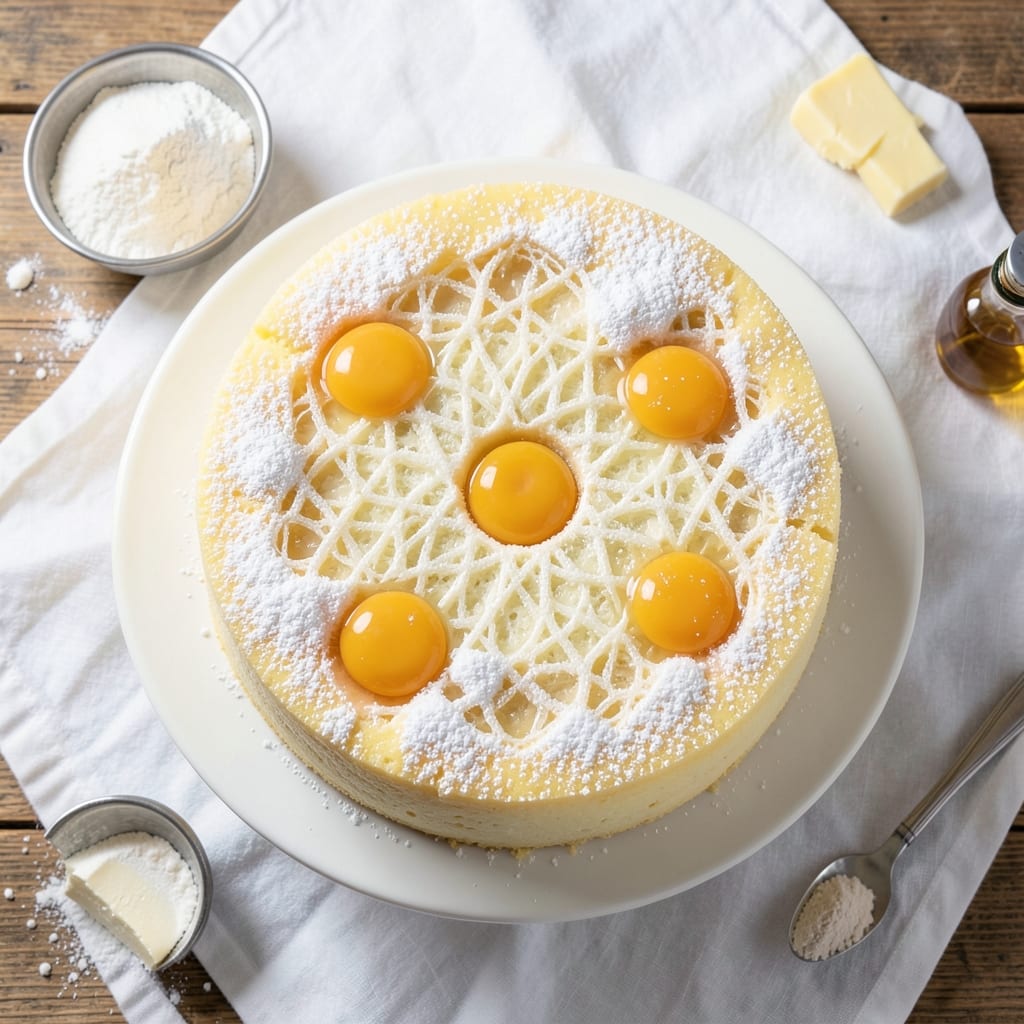
This 7-egg sponge cake recipe delivers the lightest, most stable layers you'll ever bake—no sagging, no collapse, just perfect structure every time. The secret lies in the eggs: their proteins create a delicate network that traps air, while their fat content prevents dryness. I've baked hundreds of sponge cakes, and this method never fails to produce a cake that's airy yet sturdy enough to hold layers of filling or frosting without crumbling.
The process is simpler than it sounds: you'll whip eggs and sugar to ribbon stage (that's the key), then gently fold in flour until just combined. No creaming butter here—this is a classic Italian-style sponge where eggs do all the heavy lifting. Bake at 350°F for 40-45 minutes, and you'll get a golden dome with a crackly top and tender, uniform crumb throughout. The high egg ratio means rich flavor too, with no need for extra fat or oil.
What makes this recipe truly special is its versatility. Use it for classic tiramisu layers, fill it with pastry cream for a French-style opera cake, or keep it plain for elegant finger sandwiches. The cake stays fresh for days when properly stored, making it perfect for special occasions or when you want to bake ahead. Every slice reveals that signature light-as-air texture that makes sponge cakes so magical.
Ready to master this technique? The instructions walk you through each step carefully, including how to test for doneness and avoid common pitfalls like overmixing or underbaking. With this method, you'll achieve professional-quality results in your home kitchen—no fancy equipment required. Let's get baking!
Ingredients for 7 egg sponge cake
Seven eggs, one bowl, and the lightest cake you'll ever bake—no butter creaming needed.
| Ingredient | Amount | Notes |
|---|---|---|
| Large Eggs 🥚 | 7 whole | Room temperature for best results |
| Granulated Sugar 🍚 | 1 ½ cups | Superfine preferred for smooth texture |
| All-Purpose Flour 🌾 | 1 ½ cups | Sifted for lightest crumb |
| Unsalted Butter 🧈 | ¼ cup | Cold, cubed for stability |
| Vanilla Extract 🌿 | 1 tbsp | Pure extract, not imitation |
| Baking Powder 🧂 | ½ tsp | Aluminum-free for stability |
| Salt 🧂 | ¼ tsp | Fine sea salt preferred |
| Lemon Zest 🍋 | 1 tbsp | Freshly grated for brightness |
| Cake Flour 🌾 | ¼ cup | Optional for extra tenderness |
The eggs are everything here—room temperature is non-negotiable for proper volume. Grab the largest eggs your store sells (they're richer), and if you're feeling fancy, King Arthur Flour or Bob's Red Mill for the flour. The butter? Cold cubes—don't melt it or you'll lose that stable structure. I always double-check my sugar is superfine (or pulse regular sugar in a food processor) because gritty sugar sinks and ruins the texture. For vanilla, McCormick Pure is my go-to—no funny additives.
No vanilla extract? Seeds from a vanilla bean work beautifully (steep in warm water first), or a teaspoon of vanilla sugar in a pinch. Running short on flour? Cake flour is optional but worth it—it's finer and gives that signature tender crumb. The lemon zest can be omitted if you hate citrus, but trust me, it brightens everything. For the baking powder, Clabber Girl works too if you're in a hurry (just skip the salt). And if you're making this for tiramisu, save half the cake for later—it keeps perfectly.
This cake is magic after baking: let it cool completely before slicing (the top will look cracked—that's normal and means it set right). Store wrapped tightly at room temperature for 2 days or in the fridge for up to 5 days. For longer storage, slice and freeze portions between parchment paper for 3 months. The secret to no collapse? Don't overmix the flour—just fold until just combined. I promise you'll see the difference.
Why You'll Love This Recipe
- No Mixer Needed: I swear by this recipe on lazy mornings—just whip those eggs and sugar by hand until they’re pale and fluffy. The butter gets folded in like a dream, and honestly? The cake rises higher than anything I’ve made with electric beaters.
- Vanilla Butter Bliss: That vanilla extract isn’t just for show—it’s the star. Combined with the rich, buttery eggs and sugar, every bite tastes like a bakery’s secret. I’ll be real: I’ve tried cutting corners on vanilla, and it’s a crime.
- Crowd-Pleaser Slices: Perfect for birthdays, potlucks, or even a Sunday brunch. The texture is light yet sturdy enough to slice neatly, and it holds up to frosting or fruit like a champ. My in-laws asked for the recipe after one slice.
- Budget Bakery Magic: Seven eggs might sound pricey, but this cake feeds a house—think 12+ servings. The butter and sugar stretch further than you’d expect, and leftovers? They disappear faster than my willpower on a Friday.
Step-by-step instructions for light-as-air sponge cake
Here's how to bake a perfectly light sponge cake with layers that stay intact—no collapse, no tunnels.
Separate Eggs and Whip Yolks with Sugar
Begin by separating the 7 whole large eggs, placing yolks in a stand mixer fitted with the whisk attachment and whites in a clean bowl. In a separate heatproof bowl, combine the 1.5 cups granulated sugar with the egg yolks. Place this bowl over a pot of simmering water (double boiler) and whisk constantly until the mixture reaches 160°F and becomes pale, thick, and triples in volume. This temperature check is critical—it ensures proper sugar dissolution and volume.
Here's the thing—if you don't reach 160°F, your cake might be dense. I've found that using a candy thermometer gives the most consistent results. Once it reaches temperature, remove from heat and continue whisking for another 2-3 minutes to cool slightly. The mixture should coat the back of a spoon and hold its shape when drizzled.
Whip Egg Whites to Stiff Peaks
While the yolk mixture cools, add a pinch of the 0.25 teaspoon salt to the egg whites. Using a clean whisk attachment, beat on high speed until soft peaks form. Gradually increase speed to high and continue until stiff, glossy peaks form that stand straight when the whisk is lifted. This step is non-negotiable for structure—under-whipped whites lead to flat cakes.
I like to add the 1 tablespoon lemon zest to the egg whites at this stage. It brightens the flavor and adds a subtle citrus note that pairs beautifully with vanilla. Fold it in gently with a spatula to maintain air incorporation. The zest should be finely grated—no large pieces that could weigh down the batter.
Combine Ingredients Gently
With the mixer on low speed, gradually add about ⅓ of the whipped egg whites to the yolk mixture to lighten it. Then, in three additions, fold in the 1.5 cups all-purpose flour, 0.25 cup cake flour, and 0.5 teaspoon baking powder that have been sifted together. Alternate with remaining egg whites, using a spatula to gently fold just until combined—don't overmix or you'll deflate the air bubbles.
Finally, add the 0.25 cup cold cubed unsalted butter and 1 tablespoon vanilla extract to the batter. The butter should be incorporated by hand with a spatula to maintain the delicate air structure. The batter will be thick but should hold its shape when spooned. If it looks too thin, you've overmixed—this is the moment that matters for that signature light texture.
Bake in Prepared Pans
Divide the batter evenly between two 8-inch round cake pans lined with parchment paper and greased with butter. Bake at 350°F for 25-30 minutes until the tops spring back when lightly touched and a toothpick inserted comes out clean. The edges should be golden while the centers remain pale—this indicates even baking without overcooking.
I press down gently on the centers during the first 5 minutes of baking to prevent doming. Then I let them bake undisturbed. Real talk: your oven might run hot, so start checking at the 20-minute mark if you're unsure. The cakes are done when they pull away from the sides and have a slight golden hue at the edges.
Cool and Layer Properly
Remove cakes from the oven and let them cool in the pans for 10 minutes, then transfer to a wire rack to cool completely. This gradual cooling prevents cracking. Once fully cooled, level the tops if needed with a serrated knife. For layering, I brush each cake layer with simple syrup made by dissolving ½ cup sugar in ¼ cup hot water—this keeps them moist.
To assemble, place one layer on a plate, add a thin layer of your favorite filling (whipped cream works beautifully), then repeat with the remaining layers. The 7 eggs give this cake incredible structure, so it holds up perfectly to fillings. Cover with plastic wrap and refrigerate for at least 1 hour before serving to let the flavors meld. The result? Layers that stay intact, a tender crumb, and that signature light-as-air texture you're after.
Pro Tips For Making 7 Egg Sponge Cake
- Separate Egg Yolks First: I learned this the hard way—whipping yolks and whites together at once makes the whole batch struggle. Beat the yolks with sugar until they’re pale, thick, and just ribbon-like before touching the whites. That extra 2 minutes keeps the cake light, not dense.
- Use Room-Temp Butter: Cold butter from the fridge won’t melt evenly, leaving pockets of fat that make your cake greasy. Let it sit out for 30-45 minutes until it’s soft enough to press with a finger but not liquid. Yes, even if you’re impatient like me.
- Fold in Flour Gently: Dumping flour in all at once deflates the batter faster than a sad balloon. Sift it in thirds, using a spatula to cut through the center and fold just until combined. Overmixing = tough cake. Your future self will notice.
- Bake at 325°F, Not Higher: I was skeptical until I tried it—325°F (163°C) gives even baking without a domed top. Skip the 350°F rush; this temp lets the center set while the outside stays tender. A toothpick test works, but wait 5 minutes before checking.
Flavor customization for these flavors
Citrus Brightness
Add 2 tablespoons orange zest or 1 tablespoon lime zest to the egg whites before folding—this replaces lemon and gives a tropical twist. For extra zing, mix 1 teaspoon citrus extract (like orange or lemon) with the vanilla. I once made a key lime version with ½ cup lime juice folded into the batter, and it was like eating sunshine. 🌸
Spiced Warmth
Infuse the batter with ½ teaspoon cinnamon or ¼ teaspoon cardamom while folding in the flour. For deeper warmth, add 1 teaspoon espresso powder (it enhances chocolate fillings perfectly). My go-to is a vanilla-chai combo: 1 teaspoon chai spice blend folded into the batter with the vanilla. This works especially well with mascarpone or chocolate ganache.
Chocolate Indulgence
Replace ½ cup flour with ½ cup Dutch-process cocoa powder for a chocolate sponge. For a marbled effect, swirl in 2 tablespoons melted dark chocolate before baking. I love adding 1 tablespoon instant espresso powder to intensify the chocolate flavor—it’s a game-changer for tiramisu-style cakes. 🍫
Nutty Crunch
Fold in ¼ cup finely chopped toasted hazelnuts or walnuts with the flour for texture. For a praline twist, add 2 tablespoons caramelized sugar (from candied nuts) to the batter. I once made a pistachio version with ¼ cup crushed pistachios and a touch of orange blossom water—it tasted like a Parisian bakery.
Boozy Elevation
Replace 1 tablespoon vanilla extract with 1 tablespoon bourbon, rum, or Grand Marnier for depth. For a lighter touch, add ½ teaspoon alcohol extract (like almond or coconut). My favorite is a raspberry-rosé version: fold in 1 tablespoon rosé wine reduction with the zest. Always bake boozy cakes at 340°F to prevent over-browning.
Seasonal Herbs
Fold in 1 teaspoon finely chopped fresh herbs like lavender, rose petals, or basil with the flour. For a floral note, steep 1 tablespoon dried violets** in warm milk (for a dairy-free version) and strain before adding to the batter. I made a lavender-honey cake once—it was like eating spring in every bite. 🌿
Nutrition facts
Frequently asked questions
Why does this recipe use 7 eggs instead of the usual 4-5?
The extra eggs create a richer, more stable structure that prevents collapse—critical for multi-layer cakes. Each egg adds protein for strength and fat for moisture, while the high ratio gives that signature light-as-air texture. The tradeoff? A denser but more flavorful crumb that holds fillings beautifully.
Can I make this cake without a stand mixer?
Yes, but expect more elbow grease! Whip egg whites by hand in a spotless bowl using a balloon whisk until stiff peaks form (about 10-15 minutes). For the yolks, use a hand mixer or whisk vigorously over the double boiler. The key is patience—under-whipped whites will make your cake flat.
What's the deal with the cracked top?
That's normal and actually a good sign! The crack forms as the cake dries and sets, indicating proper baking. If you hate the look, brush the top with simple syrup after baking. Just don't poke it with a knife—wait until fully cooled to level the cake.
How do I prevent the cake from sticking to the pan?
Line your pans with parchment paper cut to fit, then grease with butter. For extra insurance, dust the bottom with flour before adding batter. Remove cakes from pans immediately after 10 minutes of cooling—they'll release easily if done right. Never skip the parchment or your cake will tear when unmolding.
Can I bake this in a different-sized pan?
Adjust baking time by 1 minute per ½ inch of pan diameter difference. For example, a 9-inch pan would take about 35-40 minutes. The cake should be about 1.5 inches tall when done. If using square pans, reduce oven temp to 340°F to prevent over-browning at the edges.